
If you want to add a slider to your WordPress site, a slider in the WordPress block is the simplest method to get started.
In this tutorial, you’ll learn how to add a slider to your WordPress site using the free Otter Blocks plugin. You may be up and running in a matter of minutes, but the plugin also provides other options for controlling how your slider operates if necessary.
There are several ways to add a slider in WordPress.
There are various ways to add a slider in WordPress:
Use a slider WordPress plugin: Free plugins such as Otter Blocks offer built-in slider blocks designed specifically for WordPress.
Try using a page builder: Some page builders have pre-made sliders that may be added as content blocks or sections.
Check to see whether your theme already includes a slider: We wouldn’t choose a theme solely for its slider, although your current theme may have a decent slider function built in.
Make your own slider: This method isn’t suggested unless you need a truly unique slider because slider plugins are already highly adjustable, and you’ll need to know how to write or pay a developer.
Using a plugin to install a slider in WordPress is by far the most obvious technique; it does not involve custom coding or a redesigned page construction mechanism.
As a result, we’ll show you how to build a slider using Otter Blocks, a highly powerful Gutenberg blocks plugin.
How to Add a Slider WordPress Block Using Otter Blocks – A Step-by-Step Guide
In this first section, we’ll go through a simple step-by-step guide for using Otter Blocks to add a slider to your site.
Then, in the following part, we’ll go over the many choices for customizing the slider WordPress block in Otter Blocks.
Step 1: Download and install Otter Blocks.
To get started, download and install the free Otter Blocks plugin from WordPress.org:
- Navigate to your WordPress dashboard.
- Navigate to Plugins > Add New.
- Look for Otter Blocks.
- Install and enable the plugin.

Step 2: Insert the slider in WordPress block into the appropriate post or page.
Then, in the WordPress editor, navigate to the post, page, or other sort of content/template where you wish to add your slider.
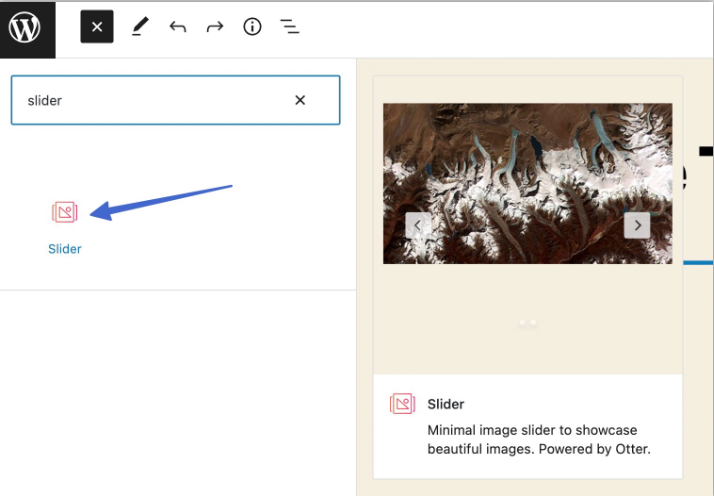
Then, in the block inserter, look for “Slider.” To add the Slider block to the editor, choose it.
Step 3: Insert media into the slider
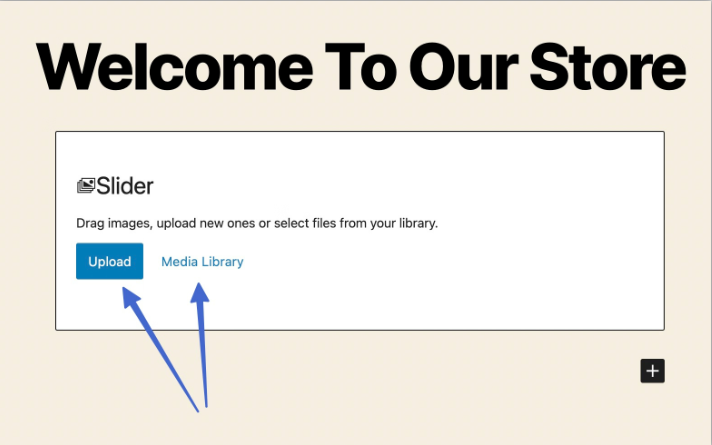
When you add the Slider block to your design, you have two options for adding photos to your slider:
- Upload – add fresh images to your slider.
- Choose from your Media Library to use existing photos.
You can upload or add as many images to the Slider block as you wish. After then, the Slider block displays a preview of the photographs with sliding animations.
Step 4: Add the slider to your WordPress website
If you’re satisfied with the slider’s appearance, click Update or Publish to save your changes and publish the slider to your live website.

Step 5: Check out the slider WordPress frontend
Navigate to the front of that page or post to examine the results to ensure the slider WordPress block is functioning properly.
Otter Blocks’ default settings include autoplay, navigational bullets, and clickable arrows.
That’s it for adding a slider to WordPress! Continue reading to learn how to add more complex slider settings.
ladiTech Website Design
We are a website design firm that assists businesses of all sizes in getting a greater return on their internet operations. We create amazing custom websites and can assist with a variety of internet marketing methods. Every website we build is created and constructed by our friendly web design team. And you have complete content management so you can edit your website whenever you want. for more information contact us: